
How to install WordPad on Windows 11
Here's how to reinstall WordPad on Windows 11 after Microsoft removed it.


WordPad was introduced in Windows 95 as a basic rich text editor, but starting with Windows 11 Insider Preview Build 26020, it was removed from Windows and cannot be officially reinstalled. There are many great free alternatives, like LibreOffice Writer, but you can get WordPad back if you really want.
First, you need to download the WordPad application. There are two versions: the application for x86 64-bit computers (also known as x86_64 or amd64), and the application for ARM 64-bit computers. If you aren't sure which one is for your PC, you probably need the x86 version. You can check by opening the Settings app, clicking the "System" tab, and clicking "About" at the bottom. It will say "x64-based processor" for x86 64-bit or "ARM-based processor" for ARM 64-bit.
WordPad for x86 64-bit Windows 11
WordPad for ARM 64-bit Windows 11
The archive contains a folder called "WordPad," which you can place anywhere on your PC. It's not an installer: just double-click on the WordPad executable file to run it.
You can also extract the files from another Windows PC by copying the Accessories folder from C:\Program Files\Windows NT\Accessories.
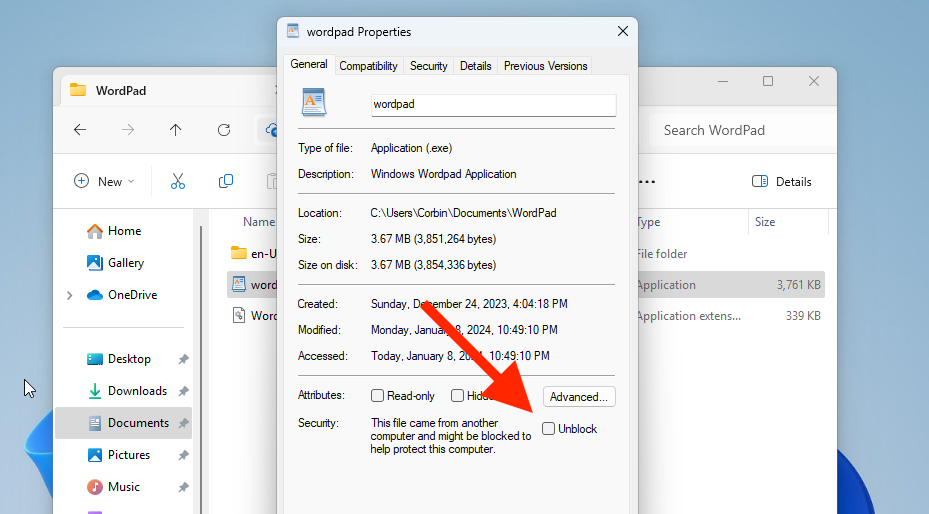
If you get a Windows Defender popup about an unrecognized app, click "More Info" and then "Run anyway." To prevent those popups in the future, right-click the Notepad application, select Properties, and click the Unblock checkbox.
You now have WordPad on your PC again!
Add WordPad to the Start Menu
You can add WordPad to your Start Menu for easy access by creating a shortcut. Right-click on the Start icon in the taskbar and select "Run" (or press Win + R), then paste the below path:
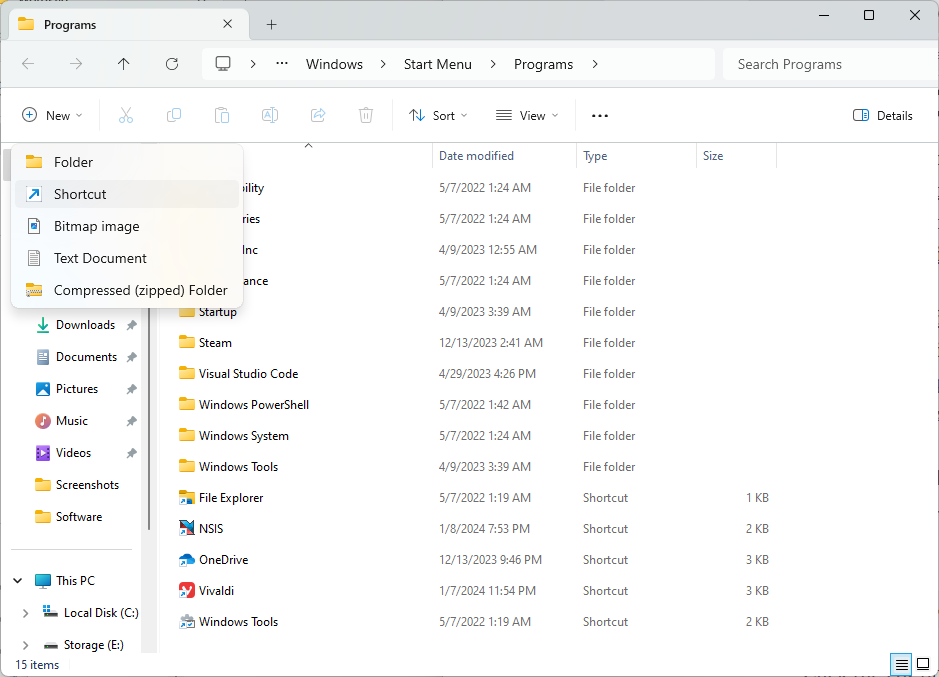
%AppData%\Microsoft\Windows\Start Menu\ProgramsClick the OK button in the Run dialog, and the Start Menu folder for your Windows user account will open in File Manager. Next, click the "New" button in the toolbar and select "Shortcut."
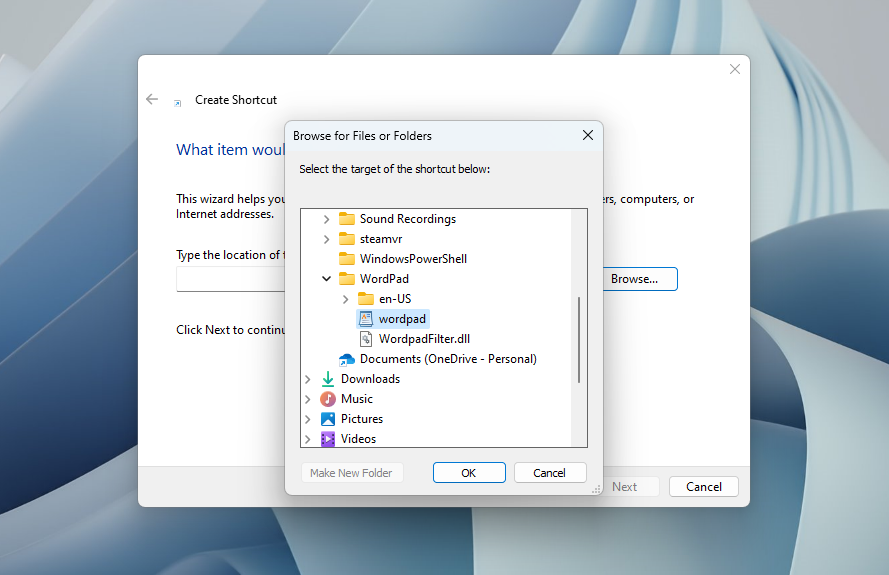
In the Create Shortcut window, click the "Browse" button and select the Notepad application in whatever folder you saved it in. In my case, I moved the WordPad folder to my Documents folder, so I had to select Documents > WordPad > wordpad.
After that, click Next, and type "WordPad" as the name of the shortcut, or whatever other name you'd like to appear in the Start Menu. Then click the Finish button, and the shortcut will be added to the folder and appear in your Start Menu.
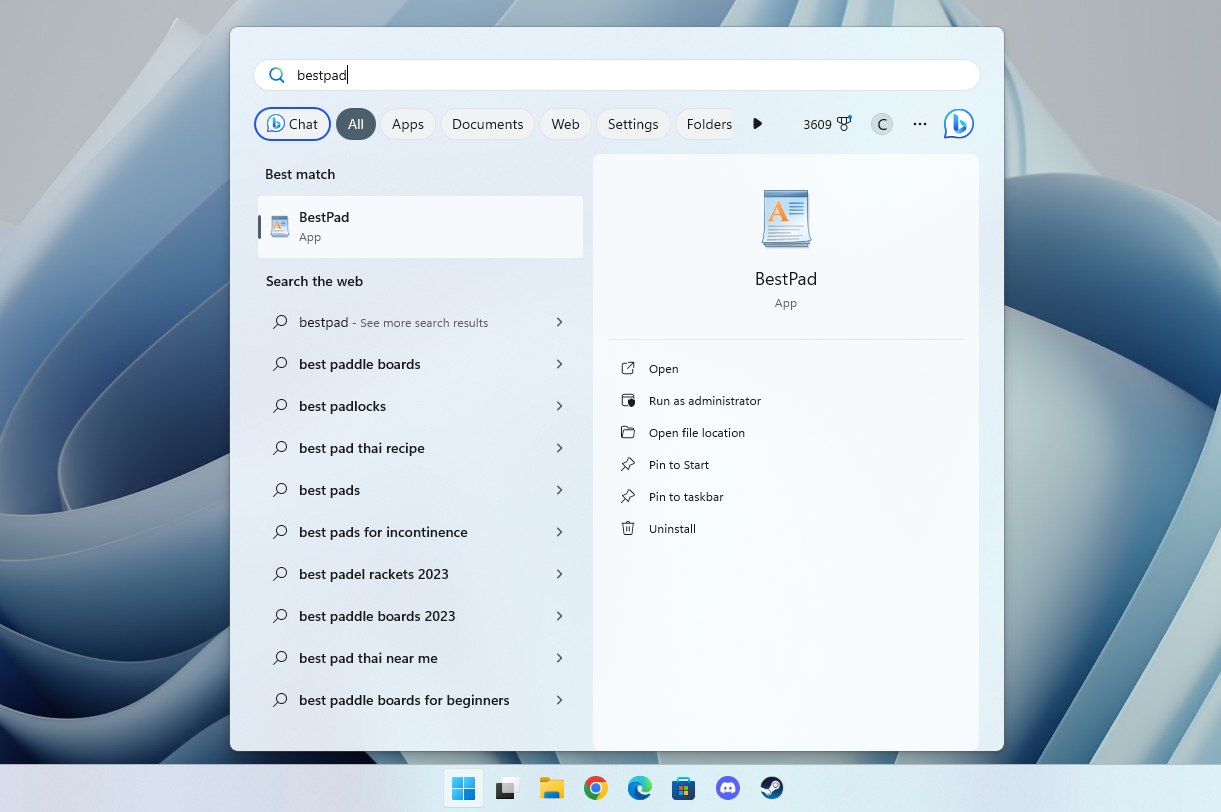
I called my shortcut "BestPad" so it appears when I start typing that in the Start Menu search.
If you want to remove WordPad in the future, just delete the shortcut from the Start Menu (click "Open file location" when searching for it in the Start Menu to get back to that folder) and delete the main folder.
You now have WordPad back on your Windows PC, enjoy it!